Want to do something a little creative with your child for Valentine’s Day cards? I have created this quick tutorial to show you how easy it is to make a cute Valentine card of your child to pass out.
What you will need:
Camera, Child, Suckers, Editing Program, Razor blade, Photo Printer or Access to consumer photo lab
Step One: Get the Image!
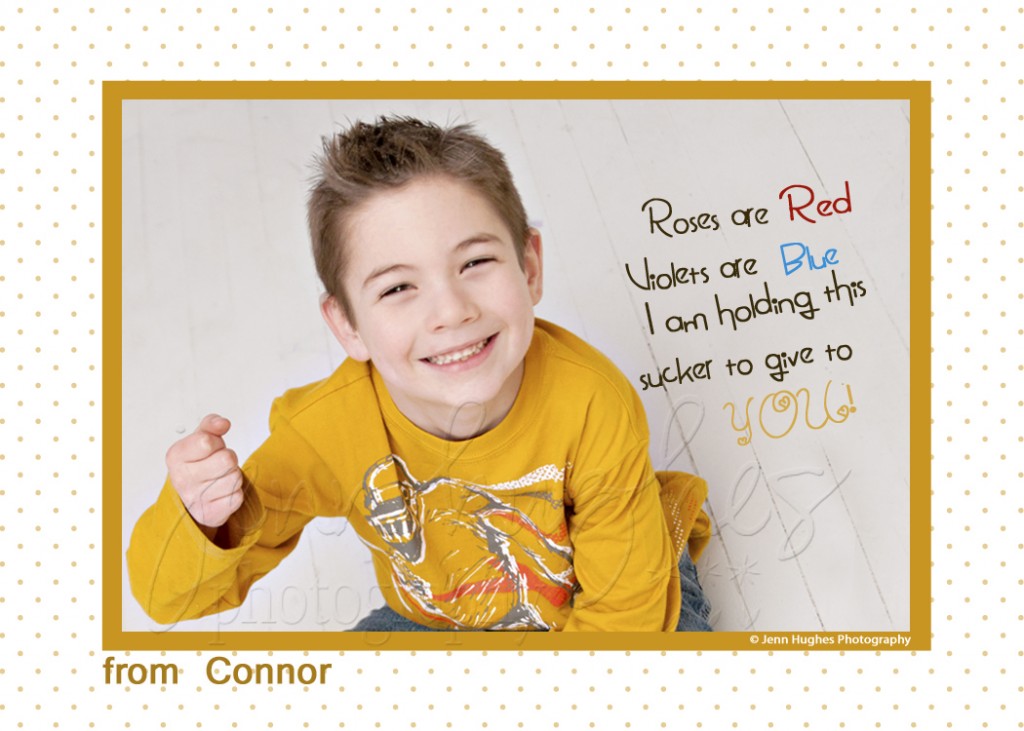
Getting the image “just right” can prove to be the trickiest part of this project. You’ll need to try different angles and focal lengths. The first image I thought about using was one with a shallow depth of field (DOF) meaning just my son’s fist was in focus. I liked the image you see on the left, but decided I wanted one where his face was in focus and his fist was slightly out of focus (read blurry). So, we will be using the image on the right. When you take your photo it will take practice and it is up to you to decide if you want your child’s face in focus or just their hand.
Step two: Create your Valentine!
The next step after you get the image for your Valentine is to process it in an editing program, and create your Valentine template. You can create this yourself if you are savvy with your program or you can find pre-made templates free or for purchase. I like to use colors that correspond to the image and created our Valentine template around the golden yellow pulled from my son’s shirt.
Step three: Print in wallet size
The average wallet size is 2.25×3.25. You should check what dimensions your lab uses before creating your template.
Step four: Cutting
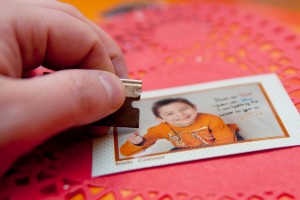
Step four requires a razor blade to cut small slits above and below your child’s fist on each wallet sized print. Be careful not to cut yourself and protect the surface beneath the print.
Step five: Adding the suckers!
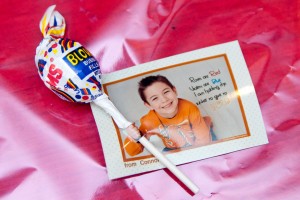
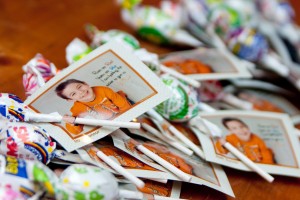
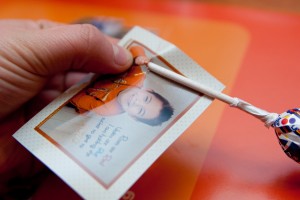 When you begin to put the suckers into cut slits of the image you must be very careful not to rip the print. If you are having trouble sliding the stick of the sucker into the holes try using the razor blade to make them a little wider.

